 The Woolly Bears
Needle felting for your seasonal table
Needle felting turns loose wool into firm little shapes by poking it again and again with a barbed needle. This pumpkin is what we made together on our second Monday, photographed step by step so you can make one at home.
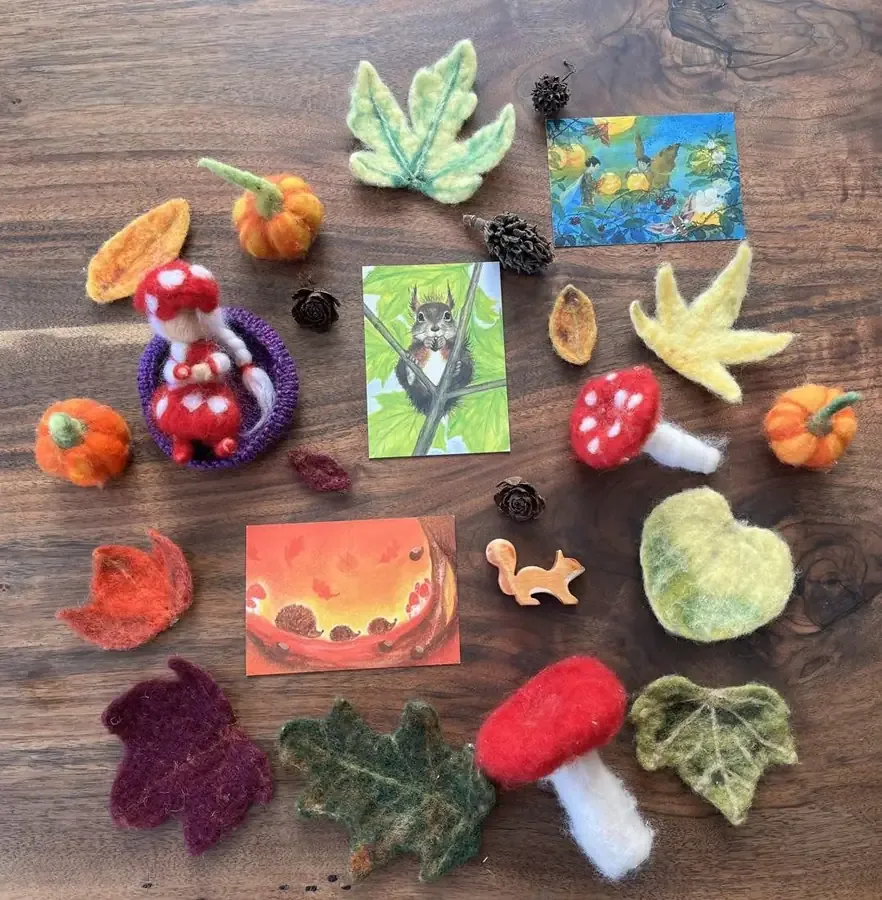
Felt a pumpkin
You wrap a ball of core wool, tie it with yarn to make the segments, cover it in orange roving and finish with a green stem.
You'll need
- Orange roving
- Yellow and green core wool
- Yarn and scissors
- A felting needle and a felting pad
A note on needles
Felting needles are very sharp. Poke straight up and down, watch the needle and keep your fingers clear. In our classes grown-ups hold the needle for younger children, and finger guards help.
Two pages, US Letter. Handy to keep on the table while you felt.
Part 1 The pumpkin
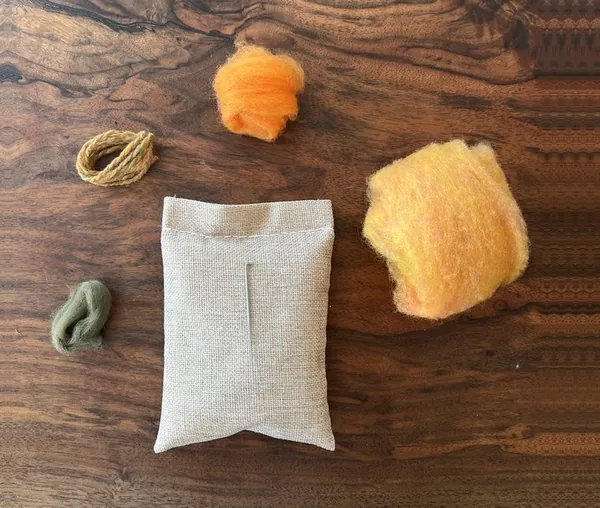 Step 1
Lay out your roving, core wool, yarn and felting pad.
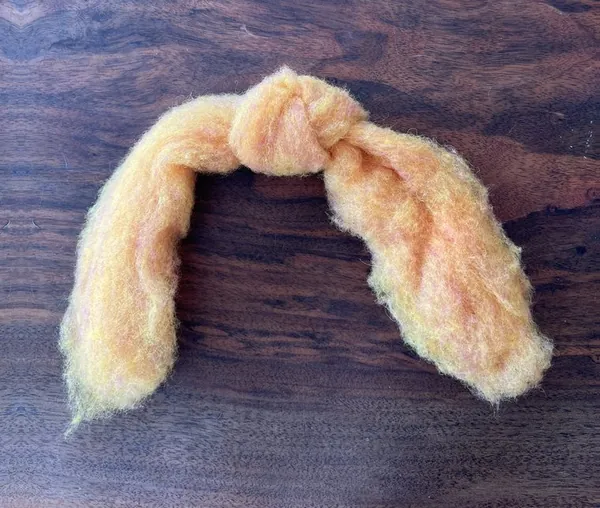 Step 2
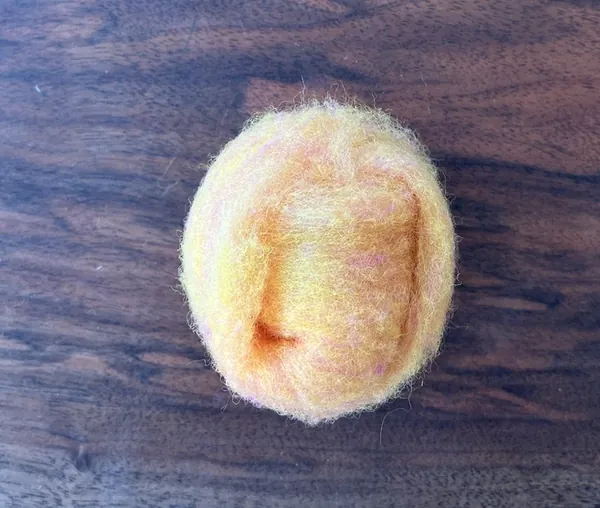
Tie a knot in the middle of a long strip of yellow core wool.
 Step 3
Wrap the ends tightly round the knot to make a ball.
 Step 4
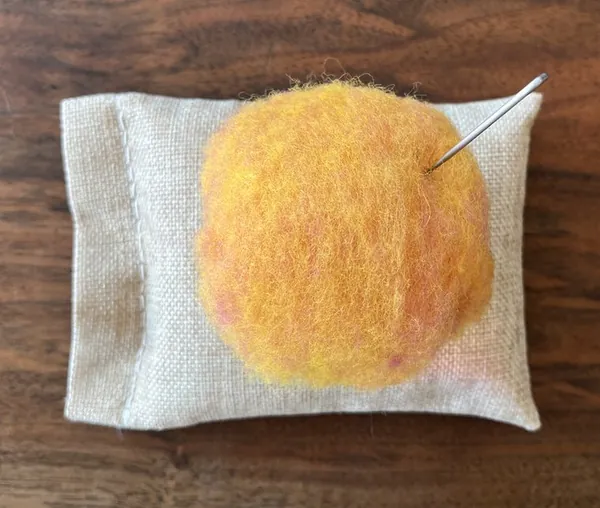
Needle felt it into a rounder ball. Don't make it too firm.
 Step 5
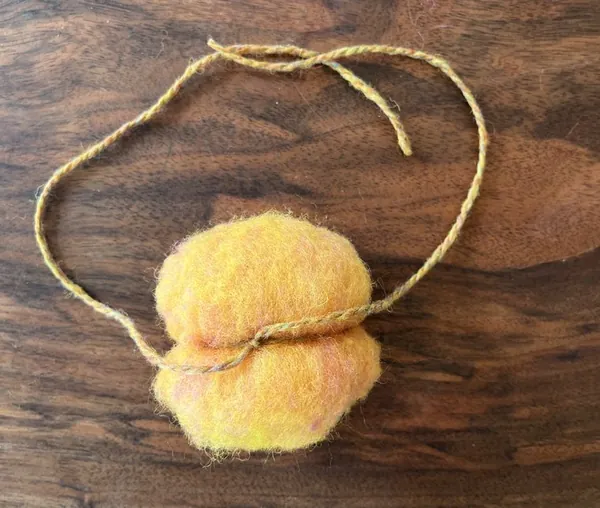
Sit the ball on the yarn, wrap it round and tie a tight knot.
 Step 6
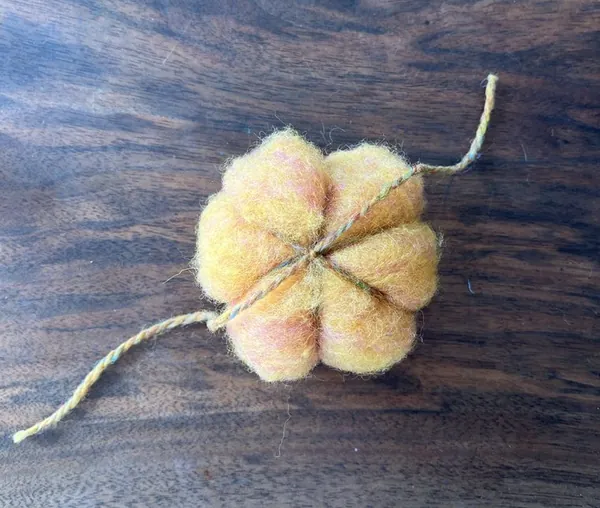
Wrap the yarn round two or more times, tying a knot each time.
 Step 7
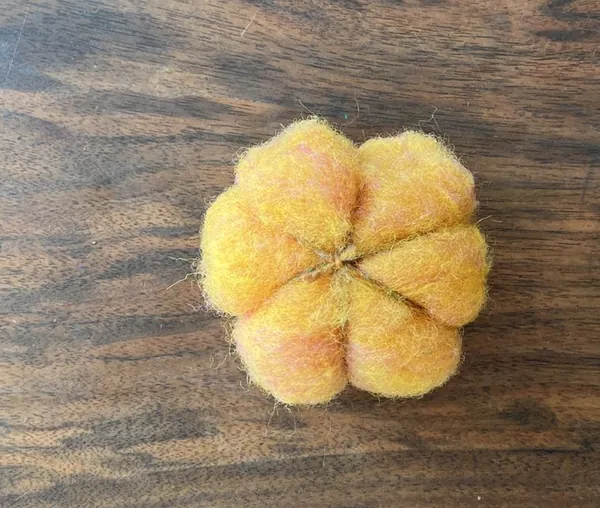
Tie off the yarn and trim the ends.
 Step 8
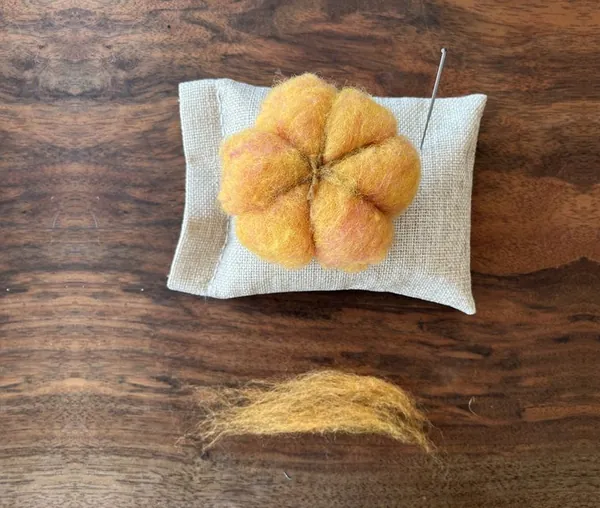
Break off small, thin wisps of orange roving.
 Step 9
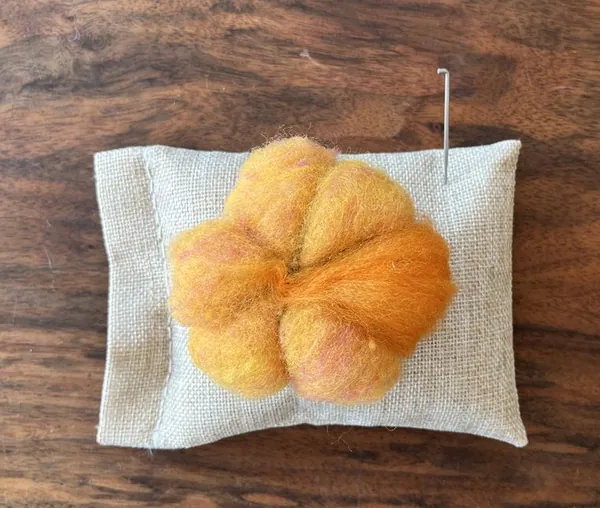
Needle thin wisps of orange roving over one section.
 Step 10
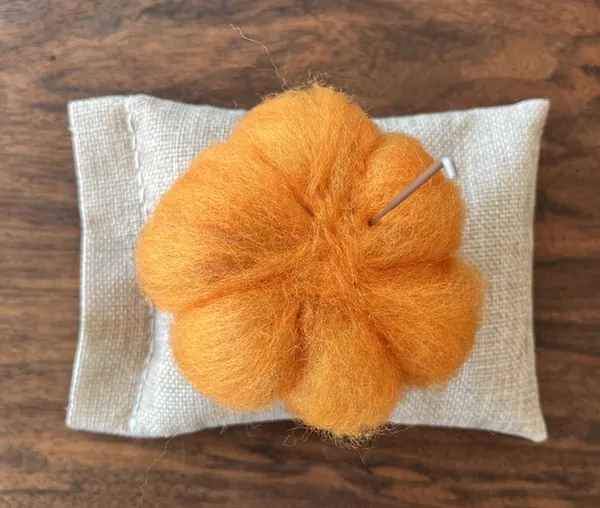
Keep going until the whole top is orange.
 Step 11
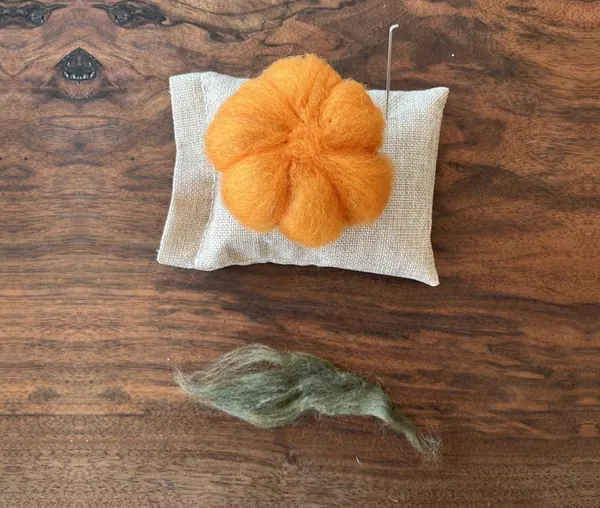
Needle the segments so they stand out. Break off some green core wool and open it up.
Part 2 The stem
 Step 12
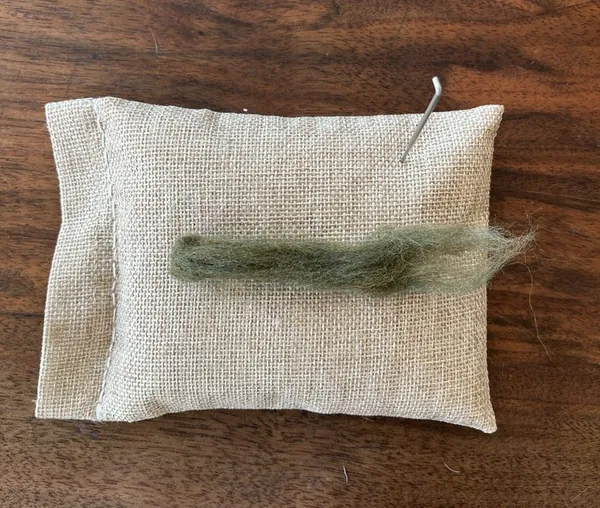
Fold the green in half lengthways and roll it between your palms. Leave one end wispy.
Part 3 Put it together
 Step 13
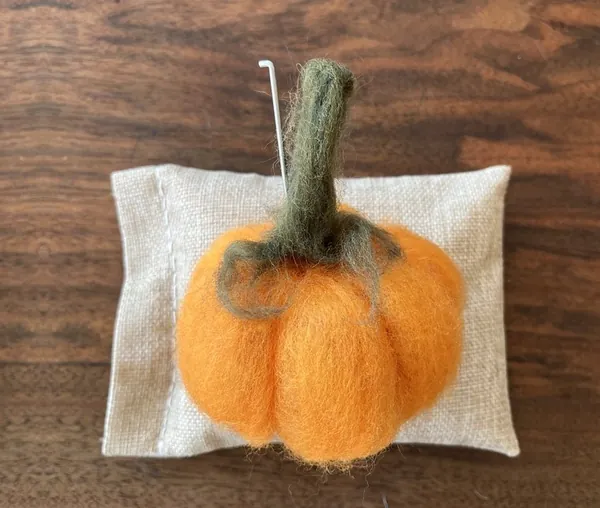
Needle felt the wispy end onto the top of the pumpkin.
 Step 14
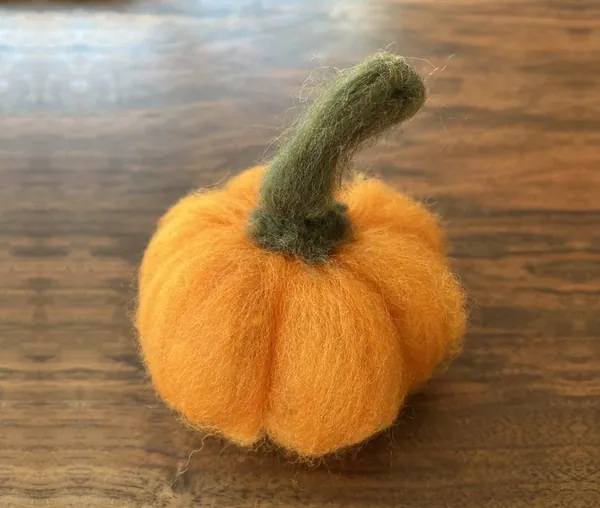
Give the stem a little bend and your pumpkin is done.
Give it a name and find it a cosy spot on the windowsill.
Print the instructions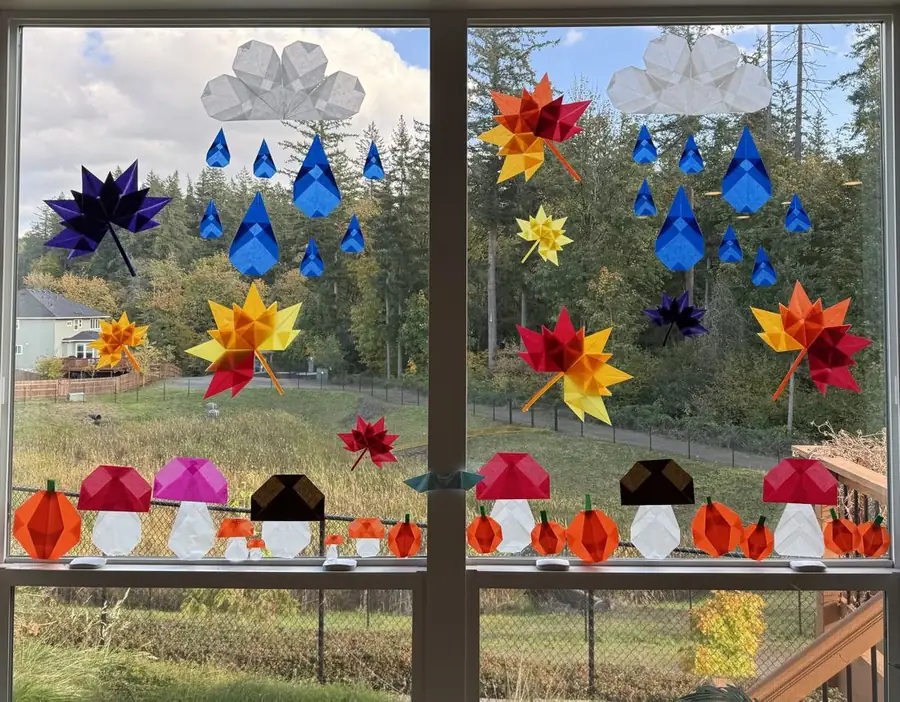
Kite paper for your windows
Fold a glowing red and white mushroom from two squares of kite paper. No needles needed, so it's a good one for the youngest makers.
Fold a mushroomMake things with us
The Woolly Bears is a small, Waldorf-inspired homeschool community in Vancouver, WA. Parents and kids spend the day outside together, playing games, walking, sharing soup and making things like this by hand.
Want to join next time?
Leave your email and we'll tell you when our next classes open, including our Winter Series, two Mondays from Nov 30.