 The Woolly Bears
Kite paper for your windows
Kite paper is thin, see-through paper that glows when the light comes through it. This red and white mushroom is one of the shapes we fold in our homeschool classes, photographed step by step so you can make it at home.
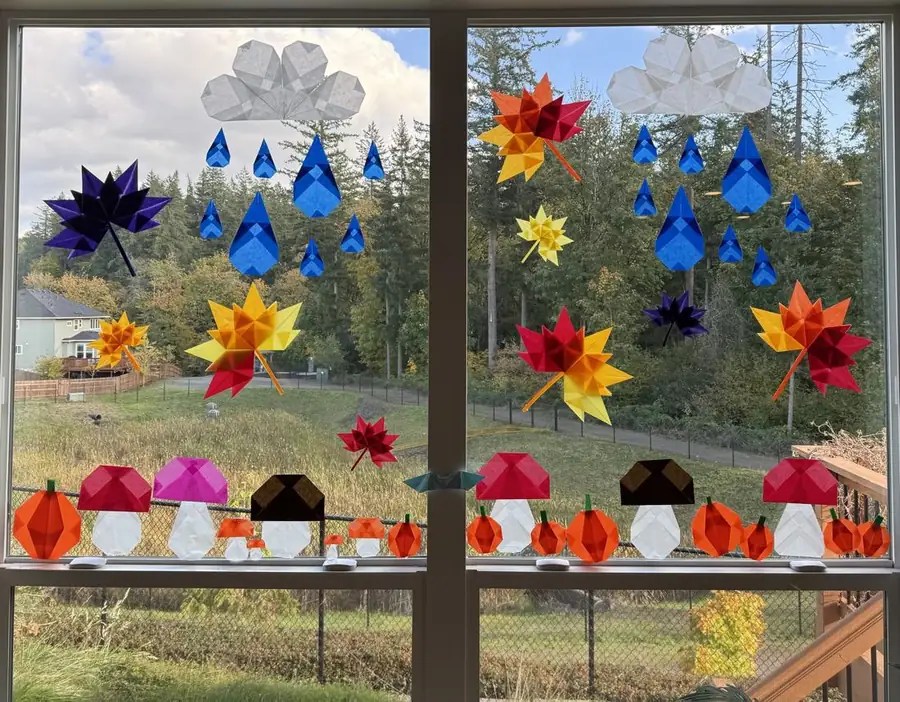
Fold a mushroom
You fold a red cap and a white stem, glue them together and finish with a few white spots.
You'll need
- A square of red kite paper for the cap
- A square of white kite paper for the stem, plus a scrap for the spots
- Scissors and a glue stick
Three pages, US Letter. Handy to keep on the table while you fold.
Part 1 The cap
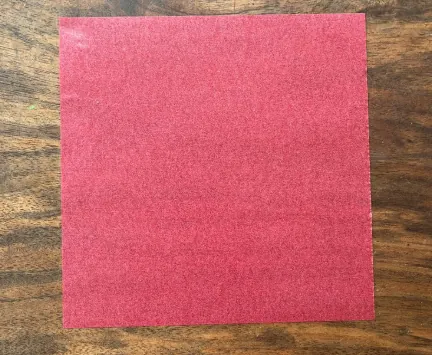 Step 1
Start with a square of red kite paper.
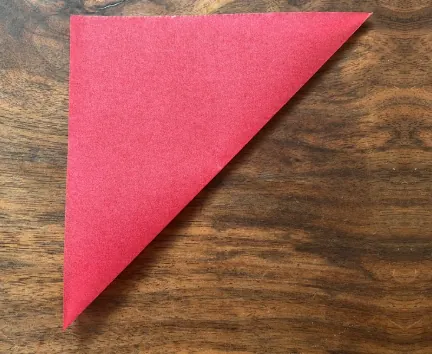 Step 2
Fold it in half corner to corner to make a triangle.
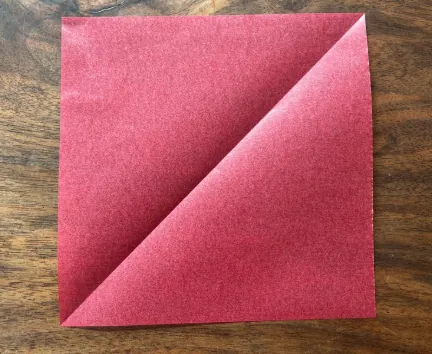 Step 3
Unfold it so you can see a diagonal crease.
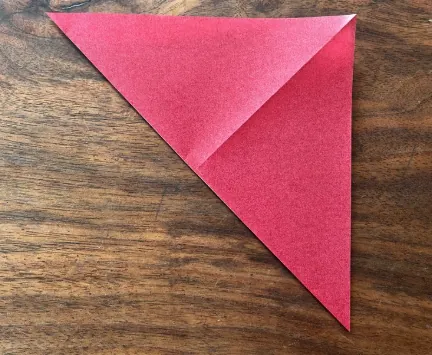 Step 4
Fold it in half along the other diagonal.
 Step 5
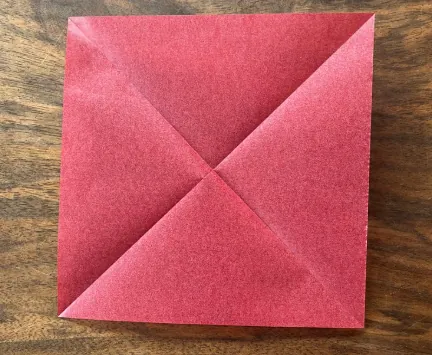
Unfold again so you have an X-shaped crease.
 Step 6
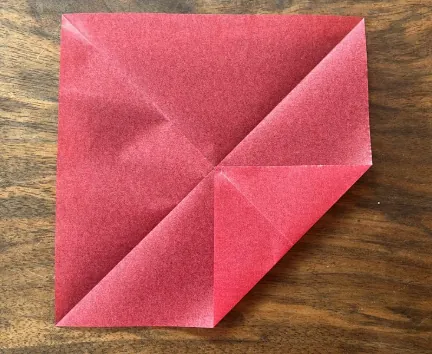
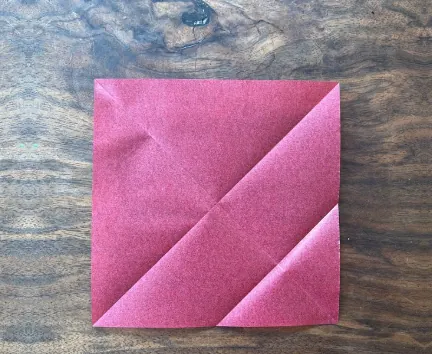
Fold the bottom right corner in to touch the centre.
 Step 7
Unfold to reveal the crease you just made.
 Step 8
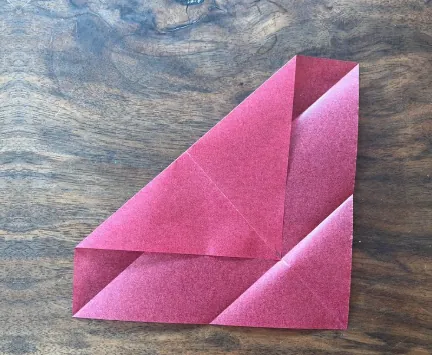
Fold the top left corner to meet the newly formed crease.
 Step 9
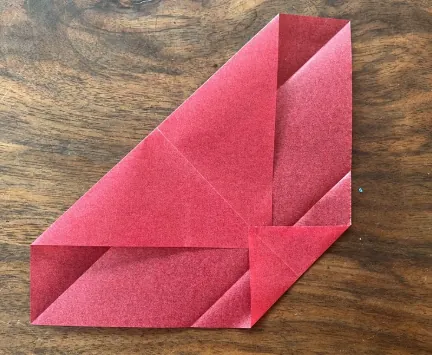
Fold the right edge in, slightly overlapping the left fold.
 Step 10
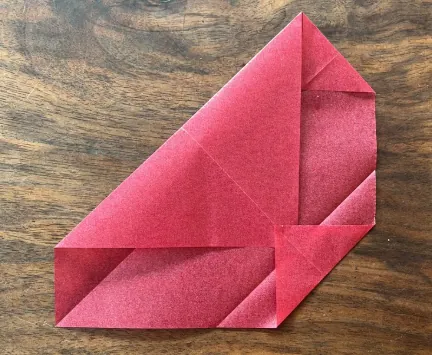
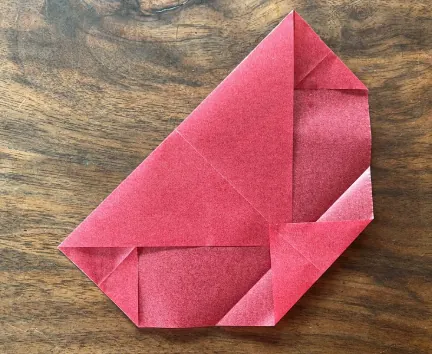
Fold the upper corner to align with the large left fold.
 Step 11
Repeat with the other upper corner.
Part 2 The stem
 Step 12
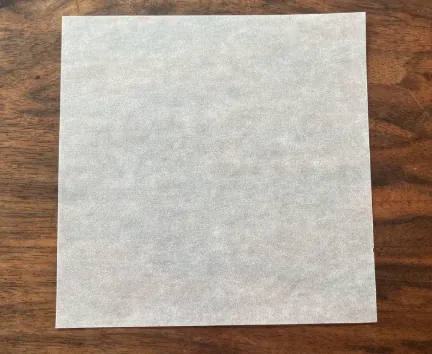
Now take a square of white kite paper.
 Step 13
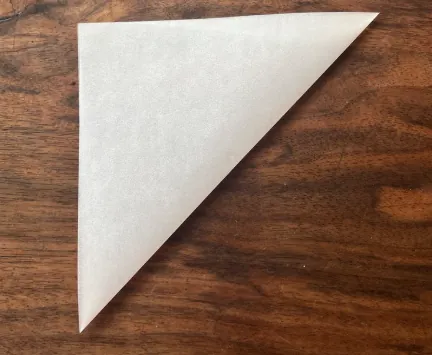
Fold it in half corner to corner to make a triangle.
 Step 14
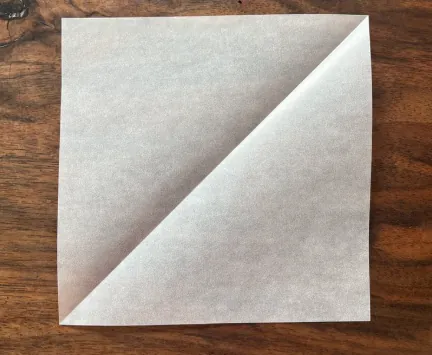
Unfold it so you can see a diagonal crease.
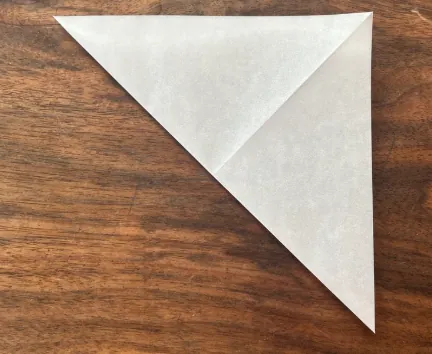 Step 15
Fold it in half along the other diagonal.
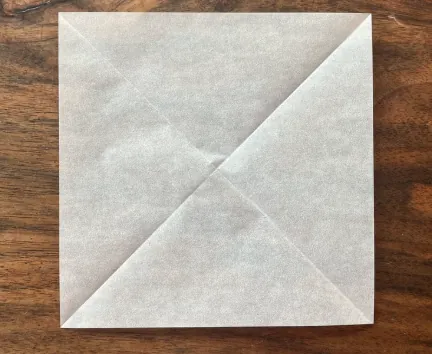 Step 16
Unfold again so you have an X-shaped crease.
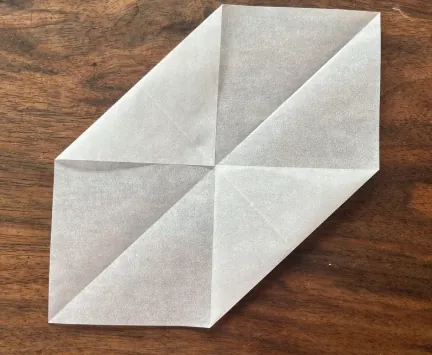 Step 17
Fold two opposite corners in to touch the centre.
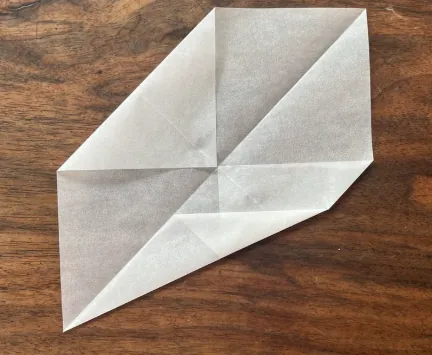 Step 18
Fold the bottom edge in to line up with the centre crease.
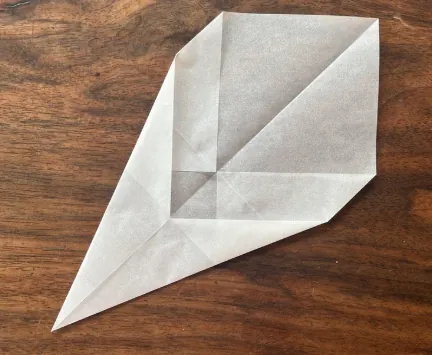 Step 19
Repeat with the other side.
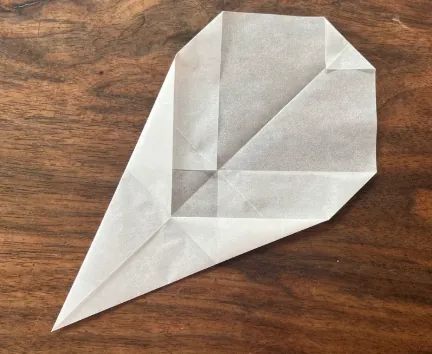 Step 20
Fold down the top corner.
Part 3 Put it together
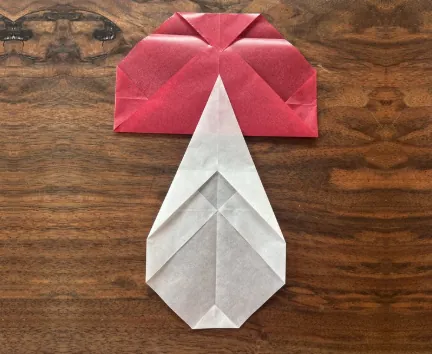 Step 21
Lay the cap face down and glue the stem's point onto it.
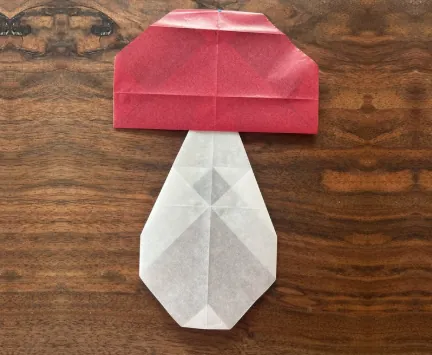 Step 22
Turn it over and the mushroom is done!
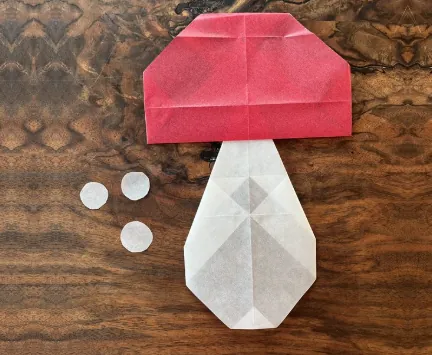 Step 23
For spots, cut three small circles from white kite paper.
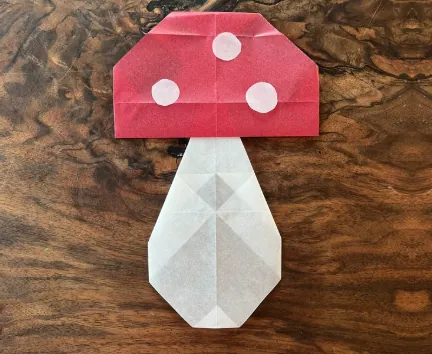 Step 24
Glue the spots onto the cap.
Hang it in a sunny window and watch the light shine through.
Print the instructionsMore we've made
A few of the other shapes we've folded together this autumn.
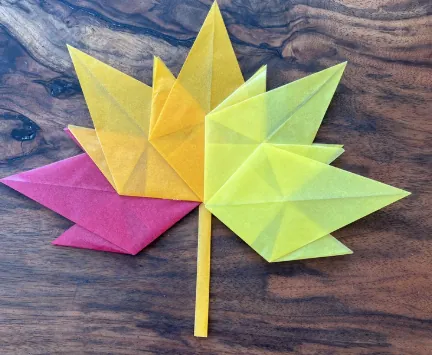
Multicolour leaf 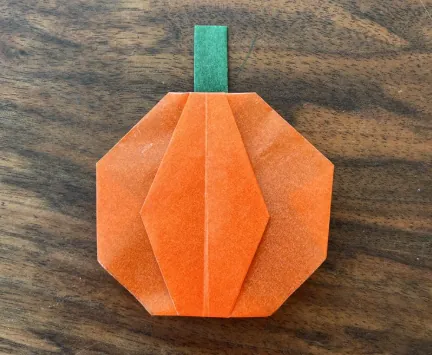
Pumpkin 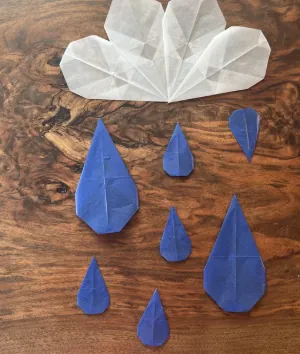
Rain cloud
Make things with us
The Woolly Bears is a small, Waldorf-inspired homeschool community in Vancouver, WA. Parents and kids spend the day outside together, playing games, walking, sharing soup and making things like these by hand.
Want to join next time?
Leave your email and we'll tell you when our next classes open, including our Winter Series, two Mondays from Nov 30.